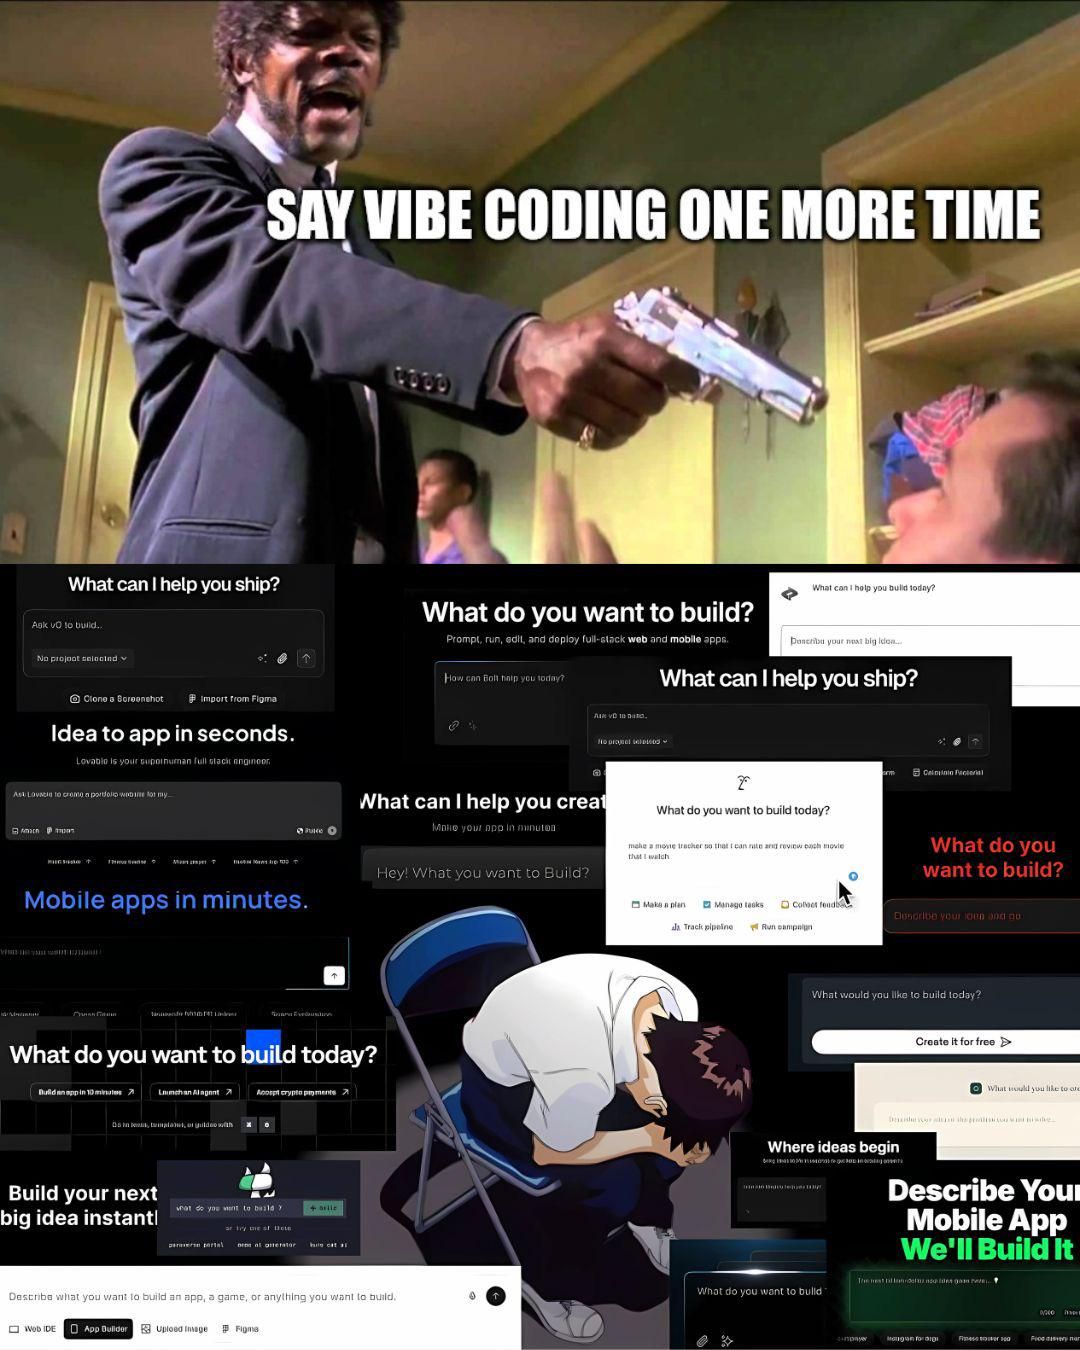
What is“vibe coding”?

Conversational Research
Use a general AI to define project goals and the “why” with structured dialogue.
Build Context Library
Use a long-context AI to create a detailed project plan before writing any code.
Implement Functionality
Use a specialized AI to translate the plan into clean, high-quality code.
Debug Issues
Use long-context and specialized AI to diagnose and fix issues with precision.
Conversational Research
The goal of this phase is to transform a vague idea into a concrete project vision by using a general-purpose AI as a structured brainstorming partner. This initial dialogue prevents “vibe coding” by establishing a clear “Why,” “What,” and “How” before any other work begins. The conversation follows a simple funnel, moving from high-level vision to specific technical exploration. This structured dialogue ensures all critical questions are answered upfront.This process adapts to you. A non-technical founder might spend more time on the Why, while a senior engineer can focus on the How. The goal is always the same: clarity.
- Dialogue Framework
- Example
Why
This stage defines the user’s pain points and the ultimate goal, using simple, non-technical language.
Key Questions: Who is this for? What problem does it solve? What does success look like?
What
Translate the vision into tangible features and behaviors without deciding on technology.
Key Questions: What are the core features for an MVP? What kind of data will it handle? Are there critical needs like speed, security, or scale?
Build Context Library
The objective is to formalize the discoveries from your dialogue into a machine-readable Context Library that serves as the AI’s single source of truth. This detailed plan prevents AI amnesia and scope creep by giving the model a definitive reference for the entire project. This involves creating three key artifacts: indexed documentation, a Product Requirements Document (PRD), and a set of project rules.Index Key Documentation
First, gather comprehensive documentation for your chosen libraries and frameworks so the AI can reference official information.
- Deep Control
- Quick Start
For fine-grained control, use gpt-crawler to create custom knowledge files from documentation websites.
Example
Draft the Product Requirements Document (PRD)
Next, translate your dialogue transcript into a detailed
PRD.md file using a long-context AI like Gemini as a structuring partner. The PRD codifies your decisions and serves as the project blueprint.Designing for AI Observability
A critical architectural decision is how your application generates logs.In the MAID framework, logs are first-class context for AI. Mandate in your PRD that a centralized
LoggingService must produce structured (JSON) logs.This service should support at least two AI-friendly modes:single_file: All logs from an execution are streamed into one file for a complete overview.token_batched: Logs are split into smaller files, each under a specific token limit. This is powerful for feeding a focused log batch into an AI for debugging without exceeding its context window.
docs/*: Indexed documentation files.PRD.md: The project’s official blueprint.CLAUDE.md: The project’s non-negotiable coding rules.
Implement Functionality
With a comprehensive plan in place, the goal is to use a specialized coding AI to translate the Context Library into clean, high-quality, and test-covered code. Your role shifts from writing code line-by-line to orchestrating the AI and validating its output against the PRD. This phase centers on a test-driven feedback loop where the AI builds, verifies, and self-corrects. The cycle is simple but effective:- AI Generates and Self-Corrects: Based on the PRD, the AI generates feature code and corresponding tests, then autonomously fixes simple bugs until its own checks pass.
- You Review the Implementation: You validate the AI-generated code against the PRD’s requirements, user experience goals, and potential edge cases.
- Approve or Iterate: If approved, the feature is complete. If not, you provide specific, corrective feedback, which becomes a more refined prompt for the next cycle.
Example
Example
User: “Using the attached
PRD.md as your guide, generate the entire initial project structure and the complete code for all foundational services: ConfigService, StorageService, and LoggingService. Also, generate the corresponding pytest unit tests for each service.”The AI confirms its context and executes the plan
The AI confirms its context and executes the plan
AI: “Understood. I have loaded your
PRD.md and will apply the architectural rules and standards from CLAUDE.md. I will now generate the initial project structure, all specified foundational services, and their corresponding unit tests.”The AI generates the code as specified
The AI generates the code as specified
“Here is the directory structure based on Section 2.1 of the PRD:”“And here is the code for
src/services/storage_service.py, adhering to the PRD:”src/services/storage_service.py
Debug Issues
The final phase treats debugging not as guesswork, but as a systematic process of providing curated context to an AI to diagnose and fix the root cause of an issue. Instead of asking, “Why is my code broken?”, you provide a precise package of information.Isolate the Problem
First, reproduce the bug by running the relevant test or application workflow. Pinpoint the exact symptom (e.g., test failure, validation error, crash).
Gather Precise Context
Assemble the three key pieces of information the AI needs for an accurate diagnosis:
- Evidence: The exact error log or test failure output with the full traceback.
- Location: The specific code file(s) where the error is occurring.
- Source of Truth: The section of the
PRD.mdthat defines how the system should have behaved.
Scenario: Solving a Pydantic Validation Error
Scenario: Solving a Pydantic Validation Error
The user isolates a bug where Location:
techblog_posts.jsonl is empty and finds a ValidationError in the logs. They then craft a precise prompt for the AI.User Prompt:
“Goal: Find the root cause of this validation error and provide the corrected code.Evidence (from logs/app.log):src/models/blog.py (model definition) and src/scrapers/blog_scraper.py (data extraction).Source of Truth: Section 3.2 of PRD.md requires the publication_date field to be a datetime object.”The AI cross-references the context to find the root cause
The AI cross-references the context to find the root cause
AI: “Understood. The error log confirms the
publication_date field is receiving a string that cannot be parsed directly. The blog_scraper.py is likely extracting a human-readable date format (e.g., “August 14, 2025”) that Pydantic doesn’t recognize by default.Solution: I will add a custom validator to the BlogPost model in src/models/blog.py to parse this specific date format before validation occurs. This centralizes the validation logic within the model, adhering to our schema-first principle.”The AI provides the corrected code and explanation
The AI provides the corrected code and explanation
AI: “Here is the updated Explanation: The
src/models/blog.py file with the fix:”src/models/blog.py
@field_validator intercepts the incoming string. It uses datetime.strptime to parse the specific format into a valid datetime object before Pydantic performs its own validation. This resolves the error while keeping the data model robust.”